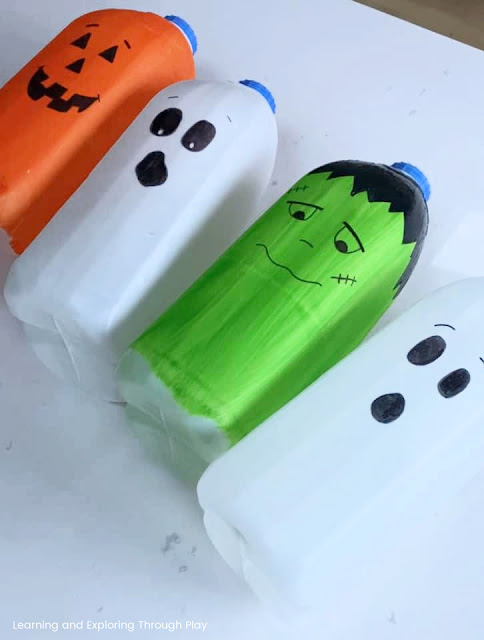
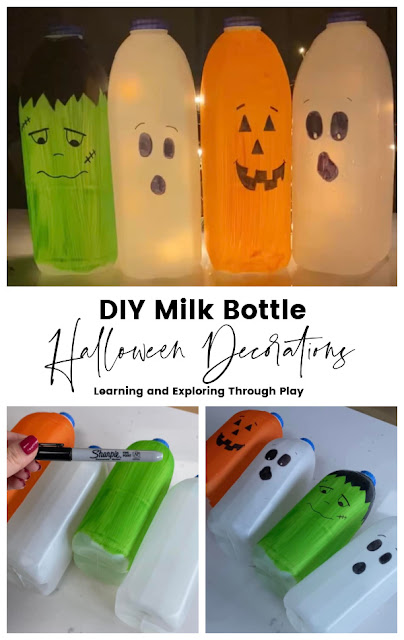
One of my first ever blog posts was showcasing around 20 ghost milk bottle decorations I had set up in the garden for a Halloween party we were having. I had sent text messages to close family and told them to save their bottles! Here is a little cheeky update on this activity idea incorporating milk bottle pumpkins, Frankenstein and of course ghosts!
Throughly wash out your milk cartons and leave them on the side, fully emptied to completely dry out. An essential step to avoid a potent stench! The smallest amount of milk left in the bottles will start to smell pretty quickly! I can't even begin to tell you how awful the smell is and it will leave you with no choice but to throw out your bottles.
Once cleaned you can start right away by painting your bottles. If you plan to use your bottles outside or in a place that could have any moisture I highly recommend using acrylic paint. Acrylic Paint does tend to dry pretty quick so you may wish to add smaller amounts to your bottles and spread the paint out with your brushes before adding anymore.
I will be using our decorations indoors, away from any moisture so using children's ready mixed paint is fine in this instance.
I found that it took quite a long while to dry. I am talking several hours. So do make sure you allow plenty of time to create these. I would recommend painting them one day, leaving overnight and then adding the details the following day.
We used a Sharpie pen to add details. I did find the pen did take off some of the paint so something to think about. In areas where details were being added this didn't matter to be honest as the area was being covered with marker pen anyway.
You also have the option of adding your details using black card.
Once details are added they are ready to go. You have a couple of options with regards to lighting them up. I placed a set of fairy lights behind them. It lit them up perfectly and required minimal effort. You can also look at using battery operated tea lights but you will need to cut a window in the bottle in order to get the tea lights inside.
Never use a candle with a lit flame in these bottles. The heat could cause a fire and will make the bottle melt.
A really simple activity that can be done with a wide age range. I really like how you can make these decorations using recycled materials. They look really effective and lets face it - you really can't beat homemade decorations! The children will really love seeing their creations being used to create fun Halloween ambience! If you give them a go and get round to taking a photo, be sure to find us on social media and share your makes with us!
It makes my day.
Until next time, keep playing and having fun!


No comments:
Post a Comment