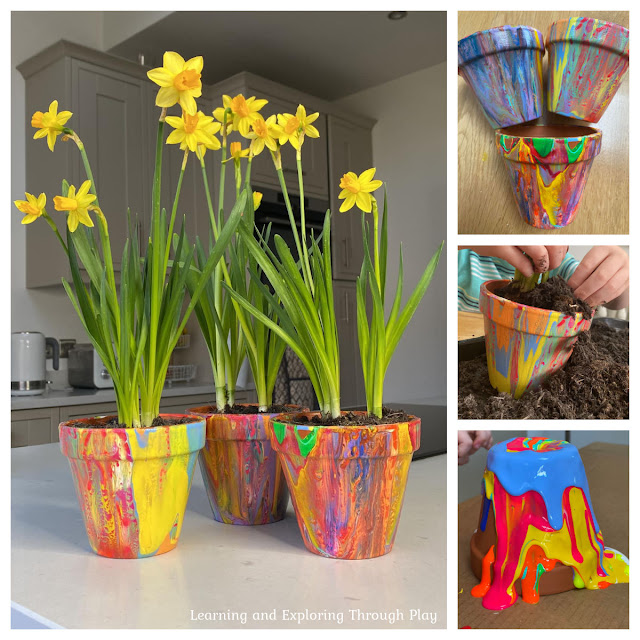
In preparations for Spring gifting for Birthdays and Mothers Day I did the most wonderful activity with the children that we all had so much fun with - using the pour painting technique on terracotta pots! I shared the video of this activity over on Instagram and Tiktok this week so do make sure you come and join us over on there to see all the other lovely things we share!
I visited the garden centre and had a look at the terracotta pots which they have in abundance! Lots of different sizes! I decided to go for the pots that were £1 and roughly 5 inches tall. I also picked up a large pot of small daffodils with the intention to split the bulbs between the pots. It would be such a lovely idea to buy the bulbs and plant in November to nurture and watch them grow, but if like me you aren't quite that prepared this works just as good too!
We decided on daffodils but you can use any flowers in these pots that you wish. Just make sure that you are buying pots that are a suitable size for the flowers you intend to plant in them.
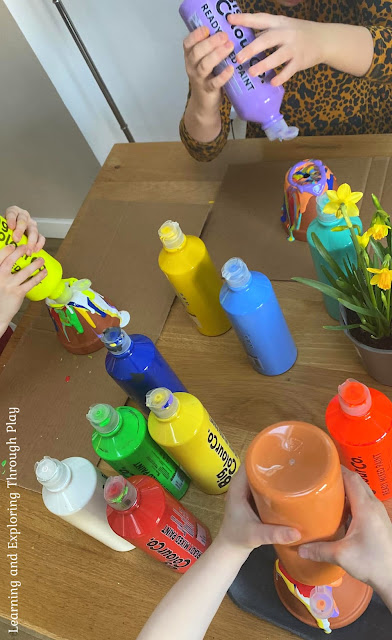
I placed out some protection to do this activity. I wanted to catch the paint effectively and also have a really simple clean up operation. I am always saving cardboard so I had some that come in well for this activity. Down went the cardboard. Pots placed on top (upside down) and paints accessible for all the children who were taking part.
The children began to layer up the paints on the base of the pots which were placed upside down. The idea was to get the paint as close to the rip as possible so it was fall down. Not to worry if your children tend to squirt more paint on the base as you can gently use your finger to push the paints down the sides of the pot which we did a handful of times whilst doing this activity.
You will find that as the paints are squirted onto one another they become more heavy and the gravity will begin to pull your paints down the pot. It quickly starts to create beautiful marble like patterns.
Keep building the paints up until all of your pots are completely covered with paint. It is then time to leave them to dry. Due to the amount of paint being used you will find that they will need a significant time to completely dry out. I left ours over night.
Lets see this activity in action:
Come the morning the pots were ready for the next stage. I intend to use these pots indoors so we used ready mixed paint from The Big Colour Co which were kindly send to me to try out. I think they are fantastic! We have been using this brand for a very long time now.
To protect the water based paints I popped a coat of modge podge on the pots. If you wanted to use pots outdoors you may want to look at using acrylic paint instead. I have found that the modge podge has protected the paint fantastically and even when they have become wet from being watered, they've not been spoilt in any way.
What I really liked about this activity was that it lasted over a couple of days as once it was dry it was time to move on to getting the plants planted up.
I used a tray and filled it with compost. The children began to fill their pots with the soil and they gently planted the bulbs. It generated some lovely discussions about the parts of the plant as the children observes the bulbs and roots. Once there was enough soil and it was all pressed down firmly it was then time to get them watered.
This also sparked some fun conversations as we discussed what plants need to thrive.
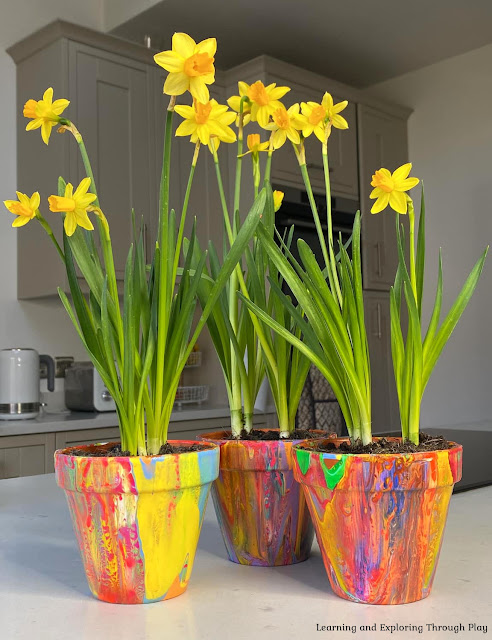
Such a great activity that brought about 2 sessions of half an hour of focus. The outcome were a beautiful set of pots planted with beautiful dainty daffodils.


No comments:
Post a Comment